Life is an Adventure...
  • Home
  • Crafting
    • Replicate and Duplicate
  • Cooking
    • Make it Yourself! >
      • Recipe Cards
  • Dancing
  • Photos
  • Travels
  • Research

Baby Bambi and Secret Santa!

12/1/2012

0 Comments

 
Written: January 3, 2013 - I'm trying to catch up on a few things I let slip by...
Big Day!!  EVERYONE came back this weekend for our group's little baby shower for Adrienne and James!

I am SO excited for both of them - due date is January 25th!!  It was great that we were all able to get together this weekend and be with them, too.

Being me, of course, I went with a mostly-homemade gift...
Picture
Baby fish hat!!!  I basically followed the tutorial I've used before by Thelma Egberts, found at Knitty.com.  I scaled it down to make it baby sized and it actually worked great!! 

And then I just rolled some onsies around different colored socks and held them with a piece of wide, black elastic to make sushi to go along with my little fish! :)  LOVE how the whole thing turned out!


Congratulations Adrienne and James!!!! <3
Picture
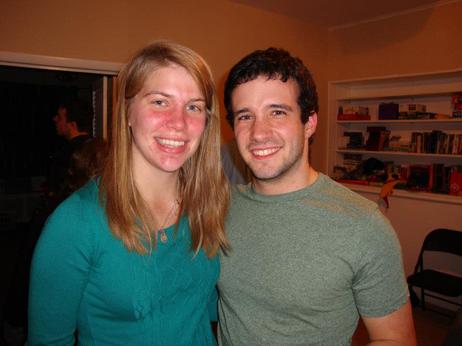
Soon-to-be Mom and Dad!! :) (photo by Emily B.)


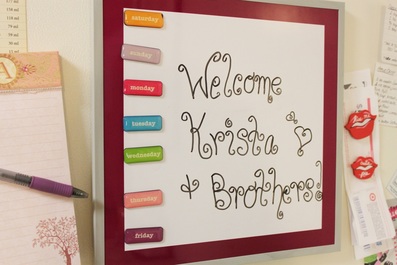
Since we already had everyone together this weekend for the baby shower, we decided to also try and pull of the annual Secret Santa!  We matched everyone virtually (thank you Secretsanta.com!) just before Thanksgiving, and then had everyone over to my apartment later in the evening after the baby shower to open gifts!

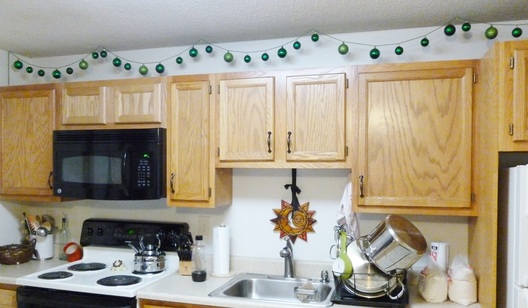
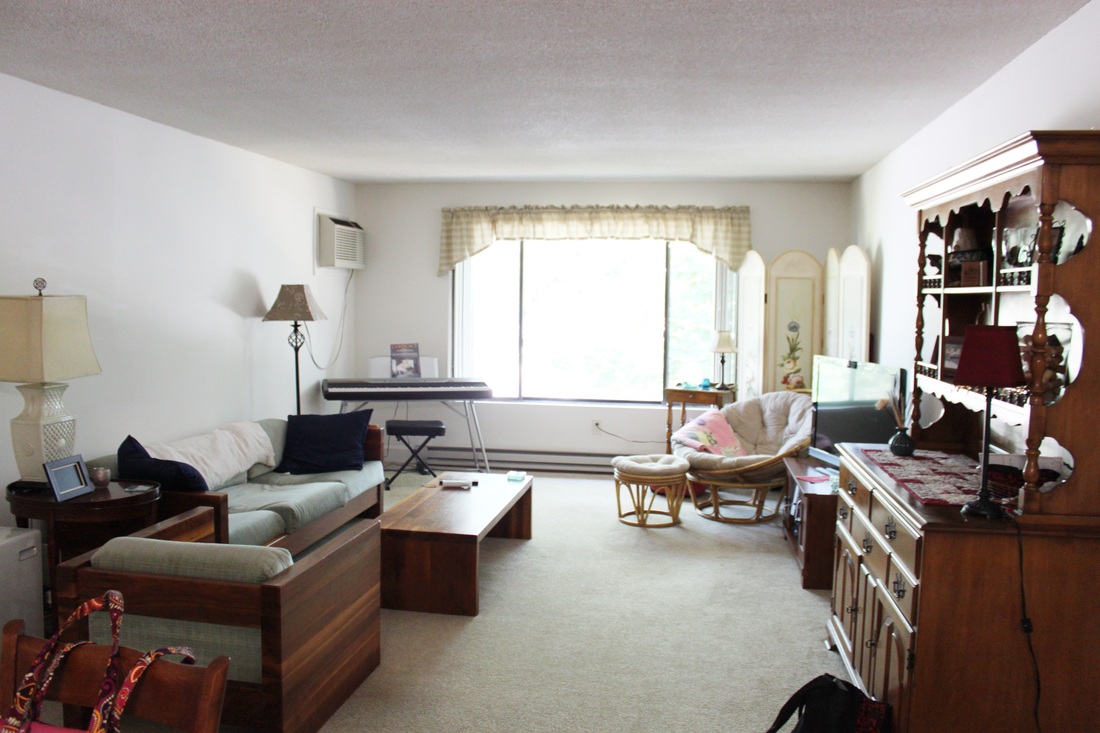
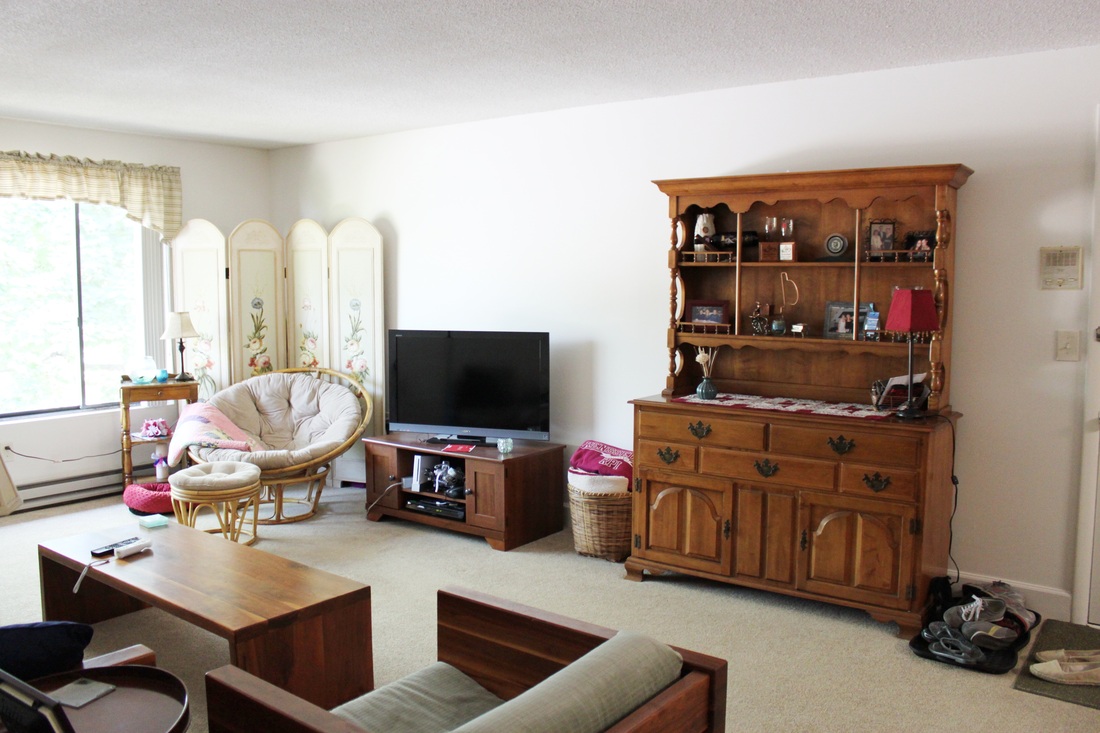
Earlier that morning, we did a little decorating to get in the Christmas mood.  Remember the Christmas Tree extravaganza from last year?  Well this year I didn't want to just redo the same thing (laaaame!) but didn't really feel like buying anything new... so we improvised!

I had a vision... similar invisible-hang-from-the-ceiling kind of thing but this time using red beaded garland that I had hanging around.  Brian came over early to help us decorate and volunteered to tackle the tree.  I kind of briefly relayed this to him and told him to just go with it.  

The end creation?
Picture
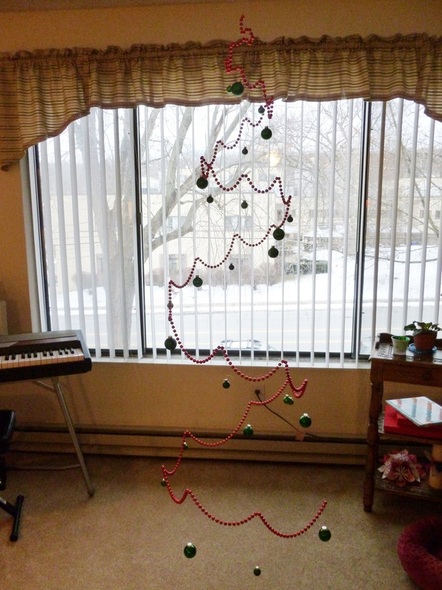
Essentially?  It's perfect.  EXACTLY what I was thinking!!  (This photo is at a semi-odd angle.. it's actually super symmetric, etc.)

Added bonus?  It's SUPER resilient!  I can't even count the number of people who have walked through it, thrown pillows at it, put their jacket on into it, Just Danced at it, etc...  

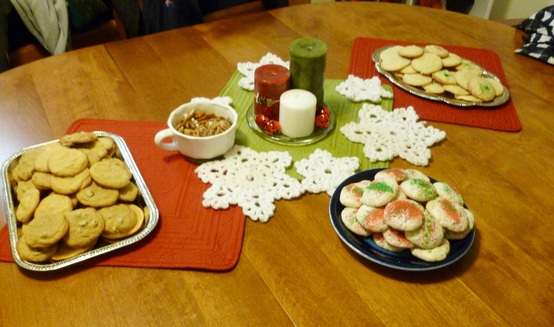
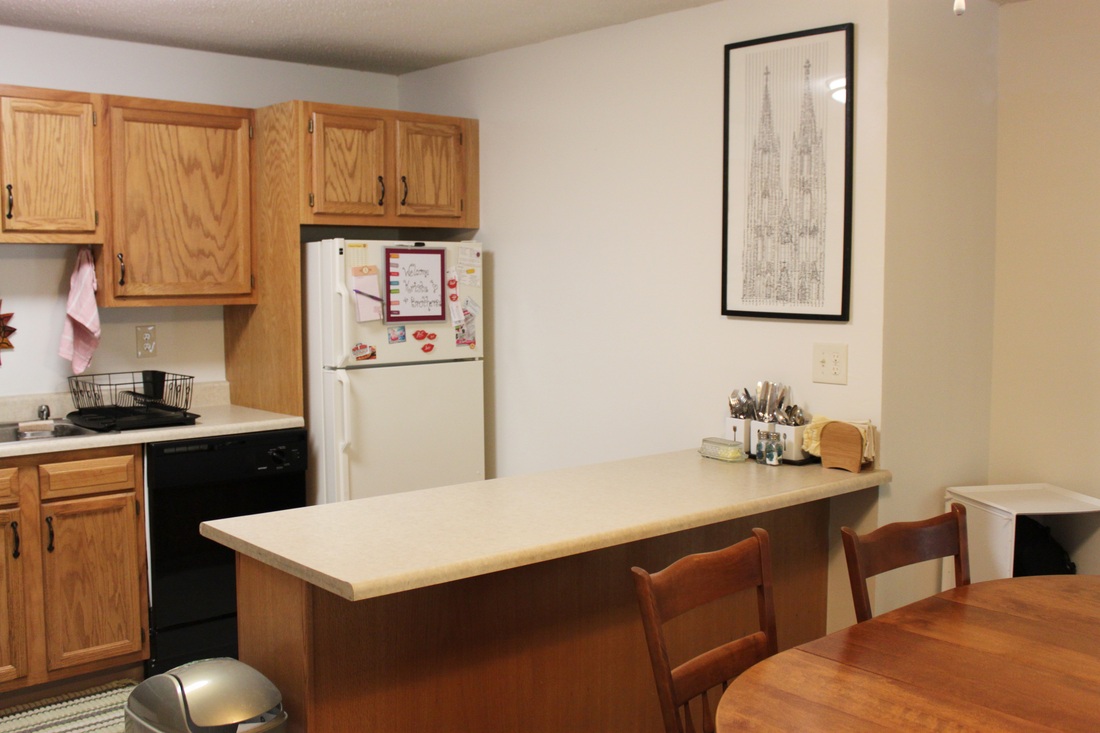
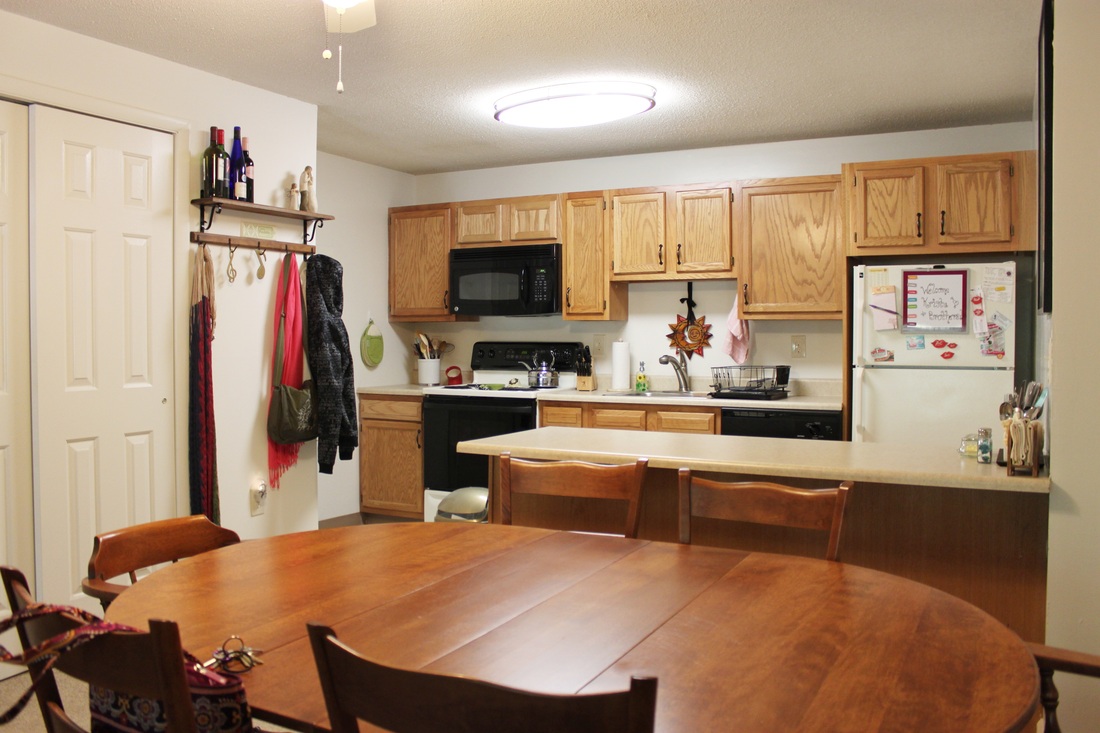
While Brian took care of this, Krista and I worked on the rest of the apartment. (Rob was busy making cookies...)
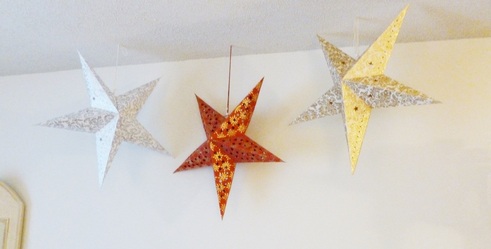
Picture
Stars above the TV
Picture
Picture
Picture
And here's the final group photo!
Picture
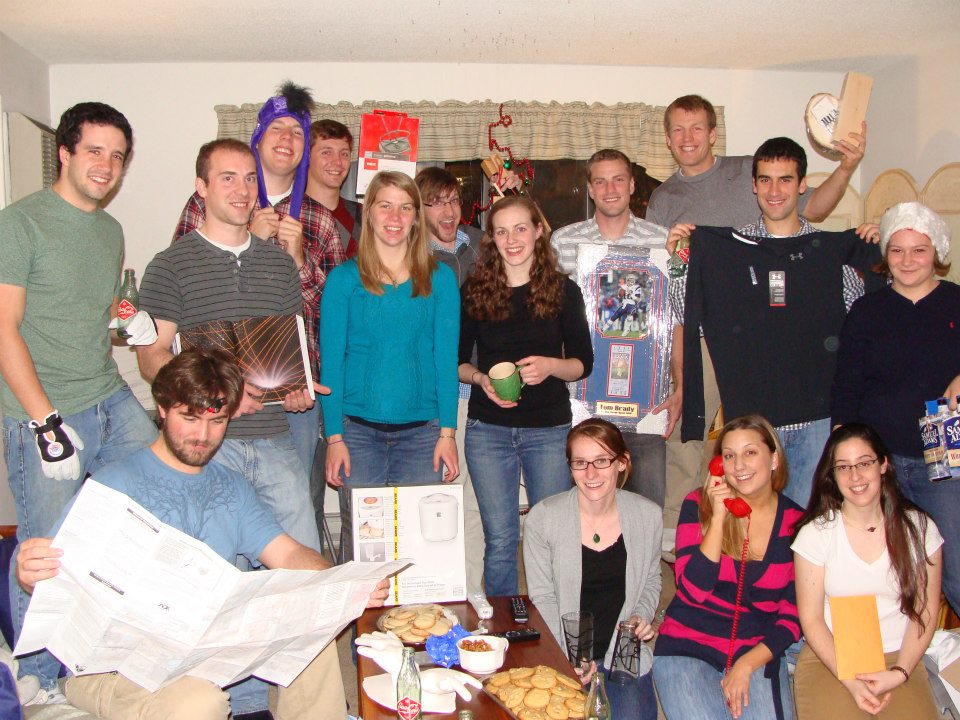
(I'm pretty sure this was the largest Secret Santa so far, as well?)
0 Comments

Don't Forget!

11/15/2012

0 Comments

 
I'm sure we all have our own little version of reminders that we leave for ourselves, particularly in the morning when we're on our way out the door.  

For a while, I was writing lists on scraps of paper and taping them to the back of the door so that there was no way I could miss it on my way out.  Usually it was something along the lines of "start the dishwasher," "take out the recycling," "bring sweatpants for dance," etc...

I figured a dry-erase situation would probably be ideal.  And then I figured I would take it a step further by trying to make it cute! :)  Plus, I wanted to be able to hang my keys near the note as well - that way, there was NO WAY you could miss it!

Verdict thus far? SUPER useful!!! :)  
Picture
I found some simple black picture frames from Jo-Ann's  - yay for being on sale!  I picked up some scrapbook paper to act as the background (that's the cute part!) and some little hooks to screw into the bottom of the frames for our keys.  (I added a quick tutorial here, if you're interested but it's pretty straight forward!)

I ended up making three different key reminder boards - Katie and Kaleigh just moved into a new house (Katie) and apartment (Kaliegh) this summer and I knew they would both love this idea, too.  :)


I LOVE how they turned out!  I tried out different DIY flowers for each one - Katie's (far left) has crochet star flowers, Kaleigh's (center) has felt flower bursts, and the one for Krista's and my apartment (far right) has fabric flowers with clear stones glued in for centers!
Picture
Picture
Picture
Picture
Picture
0 Comments

Lucky Number 17

7/30/2012

0 Comments

 
Since the beginning of my college career (almost exactly 7 years ago), I've moved 17 times.  Crazy right?!

At first glance, I know it sounds like I'm highly overestimating...  But having to move in every Fall, out every Spring, sometimes being home for 2 random weeks on either end of Summer internships, and then throw in a study abroad?  Yeah... DEFINITELY adds up...

Although, Number 17 has already had a few perks!  :)

First off?  I'm staying in the same building - I just moved from the first floor to the second floor!  1. This means that I'm out of the basement (the first floor has the ground level at the very bottom of the windows) - WAY more natural light and WAY less damp!  2. I didn't really have to "pack" very much - moving was a breeze!   Hmm... lies.  BUT!  I didn't have to load and unload a car or moving truck, which was definitely handy.  Just a million or so trips up and down stairs :)

Secondly, and perhaps most exciting, I'm now in a 2 bedroom apartment!  Krista's moving in and it will be OUR apartment!!!  :)  I'm super excited about being able to live with Little #4 for the next year - she's in Ohio for the summer for her internship but she'll be here by the end of August!!!  Can't. Wait.  :D

The final bonus about this apartment?  Because it's the same building, the apartment is basically the same layout!  The extra bedroom is just on the other side of the bathroom where the coat closet used to be...  (If you're really interested in comparing, see the original single here and here.)

Here are a few photos I took before we moved anything in:


Maybe at some point I'll draw up a formal layout like I did with the last apartment, but that day is not today.  Just not up for it... You get the gist without it, right? :-/

Those were all taken at the verrrrry end of June and I (plus family and friends) moved everything for the weekend of July 1st!  Matt and I moved some of the lighter furniture earlier in the week and then Mom, Dad, Rob, and his brother Tony, helped with the big move that Sunday.  And Dad even helped get some of my pictures up on the walls, so it felt like home right away! :)

I can't even tell you how grateful I am that Tony and Rob came to help.  For those of you who have not been up-close and personal with my furniture, trust me when I say it's beastly.  Especially the couch... It was a lot like this:
Picture
http://pinterest.com/pin/26529085275597469/
Only my couch is also 1000 lbs.  It's solid wood, which makes it very, very heavy and very, very not flexible.  The only difference from this scene from Friends?  I was in the background going "I'm sorry I have terrible furniture!" and "Thank you so so so much... I'll make cookies..."  Oh!  And we actually made it up the stairs just fine :)


Krista and her brothers visited and brought a few of her things a few weeks later.  
Picture
(Can't WAIT for her to move in for real!!)

Anyways!  Here's where we're at now:  :)
Not too bad, huh?

Remember my CDO post?  Where I explained in my disclaimer that I have plenty of clutter but it's alphabetized and color-coded?

Enter Exhibit A:
Picture
Yup... lots of drawers and bins...  It's not perfect, but until I can have a big house with a craft room and a basement?  It'll have to do!  (I realized I didn't take a photo of my closet... you would have been impressed with the volume of clothes and shoes I managed to get in there...)

And that's pretty much it! :)  Still some rearranging to do (hint: don't look in the closet by the front door yet), but we're well on our way. 

T-minus 19 days until Krista's back!  Yay!!!
0 Comments

FINALLY finished unpacking my bedroom!

8/9/2011

3 Comments

 
Moving an entire apartment can be a little bit of an undertaking (note: this is a HUGE underSTATEMENT!)

That being said, please don't judge me for leaving a corner of my bedroom piled with a few bags/boxes (mostly of yarn actually) and a stack of pictures waiting to be hung up.

First, let's start with the yarn - I crammed what I could into the empty shelf in my bookcase:
Picture
The rest I left in a box (ie. my Tinkerbell tote - Katie knows what I mean...) and put it in the closet with my other crafting goodies.

Then it was time to decorate the walls a bit!

A few favorite photo memories over the dresser
Picture
And finally, my black-and-white-photo corner!
Picture
Picture


I saw this poster a while back and just had to have it.  I have a thing for black and white (I'm sure you can tell by my bedding and the rest of the furniture in my room!).

Plus, she just looks sooooo elegant and beautiful... siiiigh....

Picture
The other two photos?  

My all time favorite, of course!  The oh-so-famous Charles C. Ebbets photo,  Lunch Atop a Skyscraper!  

And then a parody made using women... :)

I also threw together a set of shear panel curtains to add some femininity to the very boxy window that is smack dab in the middle of my outside wall!
Picture
Adorable, yes???  

Don't give me too much credit - I got them at Target but they were a little long (ie. I don't want them to burn come November when I turn the baseboard heaters on) so I just did a little hemming (at the top believe it or not!), which not only shortened them but also gave a cute little ruffle along the top!

And that's it for now!  I have plans for the remaining empty walls (I realize that now it might actually look a little lop-sided but just trust me for a little bit) - you will be kept in the loop, of course!
3 Comments

Window valance for the living room!

6/21/2011

2 Comments

 
Panel curtains purchased for fabric:  1
Number of seams ripped out:  16
Miscalculations discovered after cutting occurred:  3
Number of different colored stripes that don't always line up:  4
Additional inches of valance I wish I had:  20

Creating your own home window decorations?  a HUGE pain in the a-

uhhh.... I mean.... PRICELESS!!!!


Ok, ok, ok.... let's start at the beginning... 

You know how I have that HUGE window in my living room?

(Reminder:)   
Picture
Even with all of the furniture moved in, it still felt a little toooo... naked... which translates to boxy and awkward... 

Curtains were and obvious solution but good luck finding a set that will complement a window that is 93 inches long and 47 inches high!  You can't just throw a long panel on either side - they would be too far apart to really connect.  So I was thinking that maybe I could throw up 3 or 4 panels - 1 on either side and 1 or 2 in the center - and maybe trick everyone into thinking I actually had 2 appropriately sized windows instead of my fishbowl window!  (Don't get me wrong though - I LOVE this window... I have a pretty view of the trees and it lets in tons of natural light during the day.)

Some kind of simple little window topper seemed like an appropriate solution - now all I had to do was find one!  (Or some fabric to fake my way through making a set...oh boy...)

Enter: Target.

The girls and I were out shopping for new apartment goodies and so it was only natural that we stopped by the curtain section.  Which, unfortunately, left something to be desired in the window valance department - 1. they could not accommodate my excessive window width, and 2. they were all solid colors (boooorrrrrinnnnggggg).

But! They did have this: 
Picture
(Image taken from Target.com)
Now, I know that you're thinking - but that's a panel!  Right.... which is also just a HUGE rectangle of fabric, yes? AND it's cheaper than just buying raw fabric!  (My engineer-gears started turning... and luckily I had my 2 engineer girls with me who's own engineer-gears prompted the "you could definitely cut this up and make something!")  

I, of course, agreed and promptly purchased one panel of the fabric (this photo doesn't do it justice, by the way - the green stripes have more vivid colors and contrast nicely with the taupe background).

The overall plan was to create a valance that would taper to be a little longer on either side of the windows - hopefully just framing the window a little and softening the "boxy" feel of the whole set up.  In my head, this worked out as just a rectangular valance with two triangular (ok, maybe "trapezoidal" is actually more accurate) sections on each end.

My project started with a whole lot of calculations and math.  And a lot of spontaneous changes and alterations.  Forgive me for not making a DIY tutorial for this - maybe some day but, to be honest, I'm not entirely sure I could explain it...

I mean, if you can follow my thought process?  More power to you...
Picture
But the gist of the project?  I started by ripping out all of the hang-tabs and the hems of the original panel curtain...
Picture
And then brought out my handy-dandy rotary cutter to slice up my pieces!
Picture


Of course, it wasn't until AFTER these first few cuts that I realized I was going to end up with two identical (left side) tapers - not the mirror images that I actually needed...

(@#$grumble,grumble%^&#...)

Fine. Re-measure, re-cut, and then come to terms with the fact that I would now have less material for my rectangular center - I had planned this to the T (well obviously there was faulty planning...) so that it would use just about the entire panel.  So, now I would have less ruching than I originally planned for and ugh!  Not happy!

But whatever, the show must go on... Act III: Hemming and Stitching. 
Picture


I ironed all of my hems first (this was actually the bulk of the project's time commitment but was WELL worth it) and then pinned them before I started sewing.

Picture
I'll spare you the details on having to piece together my remaining pieces because of my previously mentioned cutting mishap...  

Once I'd finished them, I really wasn't sure about how it all turned out - it just looked like such a disaster sitting on my floor.  But I was determined and refused to just fold them up and hide them away.  At the very least, these babies were going to hang at least until I had the motivation to come up with a new plan and try again.

To my (very excited) surprise, once I got them mounted over the window, I absolutely loved them.
Picture
Cute, right??? 

(please disregard my mobile that is so selfishly in the way... there was already a hook in the ceiling and I didn't know where else to put it...)

Overall, I'm really happy with how my valance came out - I'm thinking that if I had been able to make it longer, it would have been TOO ruched... so maybe my sewing-muse (I've named her Wilma) was just trying to use a happy accident as re-direction? :)

It also helps that I have master-sewing Mom's seal of approval, too... 

Now, I just have to figure out what the next project will be.... Any suggestions?  Anyone else about to tackle some curtains? 
2 Comments
<<Previous
    Picture

    Alison "Ali" Rose

    Currently working on a Ph.D. in Environmental Engineering and all of the side projects that help get me through it!

    Follow Me on Pinterest

    Categories

    All
    Apartment
    Conferences
    Cooking
    Crafting
    Dancing
    Everything In Between...
    Have A Giggle
    Photos
    Presentations
    Research
    Travels
    Video

    RSS Feed

    Archives

    November 2014
    September 2014
    August 2013
    June 2013
    May 2013
    April 2013
    January 2013
    December 2012
    November 2012
    October 2012
    August 2012
    July 2012
    June 2012
    May 2012
    April 2012
    March 2012
    February 2012
    January 2012
    December 2011
    November 2011
    October 2011
    September 2011
    August 2011
    July 2011
    June 2011
    May 2011
    April 2011
    March 2011
    February 2011

    Creative Commons License
    My Life is an Adventure... by Alison Rose is licensed under a Creative Commons Attribution 3.0 Unported License.
Powered by Create your own unique website with customizable templates.