Number of seams ripped out: 16
Miscalculations discovered after cutting occurred: 3
Number of different colored stripes that don't always line up: 4
Additional inches of valance I wish I had: 20
Creating your own home window decorations? a HUGE pain in the a-
uhhh.... I mean.... PRICELESS!!!!
Ok, ok, ok.... let's start at the beginning...
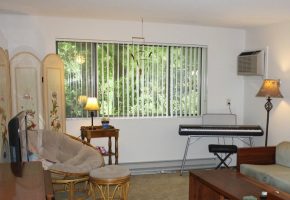
You know how I have that HUGE window in my living room?
(Reminder:)
Curtains were and obvious solution but good luck finding a set that will complement a window that is 93 inches long and 47 inches high! You can't just throw a long panel on either side - they would be too far apart to really connect. So I was thinking that maybe I could throw up 3 or 4 panels - 1 on either side and 1 or 2 in the center - and maybe trick everyone into thinking I actually had 2 appropriately sized windows instead of my fishbowl window! (Don't get me wrong though - I LOVE this window... I have a pretty view of the trees and it lets in tons of natural light during the day.)
Some kind of simple little window topper seemed like an appropriate solution - now all I had to do was find one! (Or some fabric to fake my way through making a set...oh boy...)
Enter: Target.
The girls and I were out shopping for new apartment goodies and so it was only natural that we stopped by the curtain section. Which, unfortunately, left something to be desired in the window valance department - 1. they could not accommodate my excessive window width, and 2. they were all solid colors (boooorrrrrinnnnggggg).
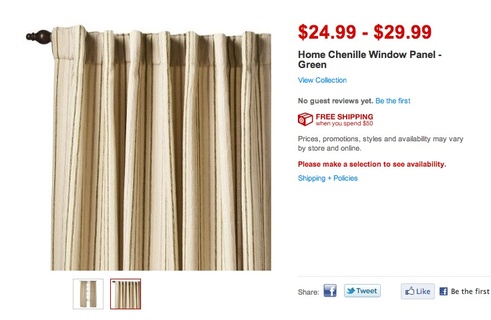
But! They did have this:
I, of course, agreed and promptly purchased one panel of the fabric (this photo doesn't do it justice, by the way - the green stripes have more vivid colors and contrast nicely with the taupe background).
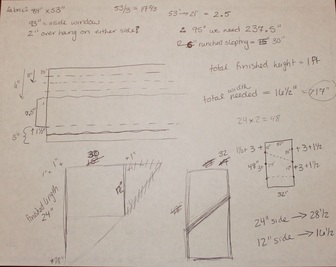
The overall plan was to create a valance that would taper to be a little longer on either side of the windows - hopefully just framing the window a little and softening the "boxy" feel of the whole set up. In my head, this worked out as just a rectangular valance with two triangular (ok, maybe "trapezoidal" is actually more accurate) sections on each end.
My project started with a whole lot of calculations and math. And a lot of spontaneous changes and alterations. Forgive me for not making a DIY tutorial for this - maybe some day but, to be honest, I'm not entirely sure I could explain it...
I mean, if you can follow my thought process? More power to you...
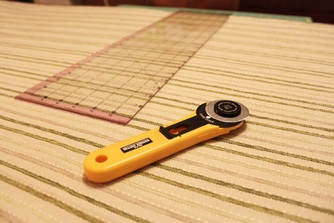
Of course, it wasn't until AFTER these first few cuts that I realized I was going to end up with two identical (left side) tapers - not the mirror images that I actually needed...
(@#$grumble,grumble%^&#...)
But whatever, the show must go on... Act III: Hemming and Stitching.
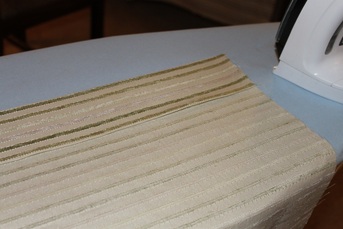
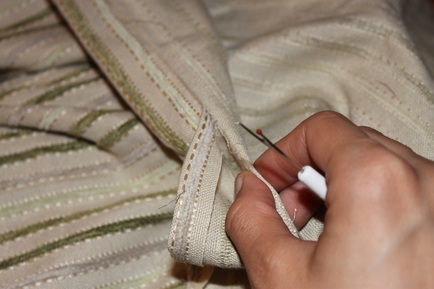
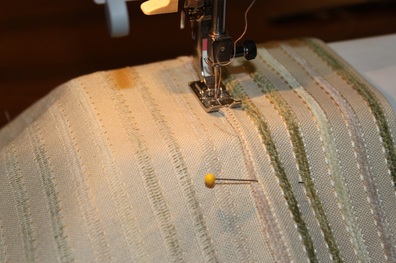
I ironed all of my hems first (this was actually the bulk of the project's time commitment but was WELL worth it) and then pinned them before I started sewing.
Once I'd finished them, I really wasn't sure about how it all turned out - it just looked like such a disaster sitting on my floor. But I was determined and refused to just fold them up and hide them away. At the very least, these babies were going to hang at least until I had the motivation to come up with a new plan and try again.
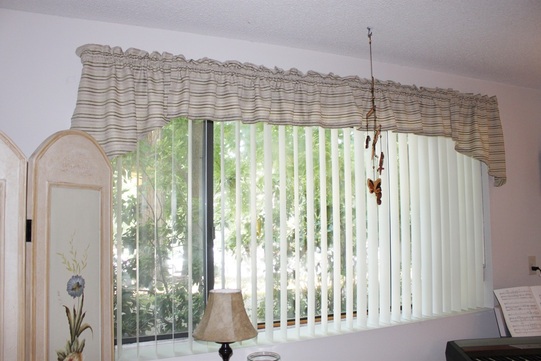
To my (very excited) surprise, once I got them mounted over the window, I absolutely loved them.
(please disregard my mobile that is so selfishly in the way... there was already a hook in the ceiling and I didn't know where else to put it...)
Overall, I'm really happy with how my valance came out - I'm thinking that if I had been able to make it longer, it would have been TOO ruched... so maybe my sewing-muse (I've named her Wilma) was just trying to use a happy accident as re-direction? :)
It also helps that I have master-sewing Mom's seal of approval, too...
Now, I just have to figure out what the next project will be.... Any suggestions? Anyone else about to tackle some curtains?

 RSS Feed

