How to make your own Key Reminder Board... |
|
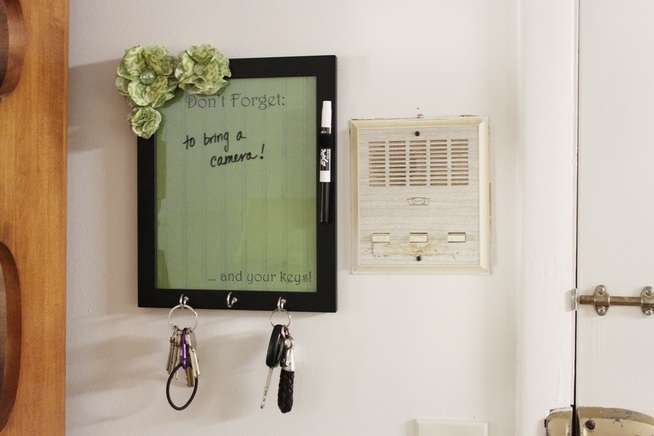
As I mentioned in my post here, I was desperately in need of a place to leave reminders for myself that I would see on my way out the door. And I was also desperate for somewhere to hang my keys. And the rest, as they say, was history...
Step 1: Gathering Supplies
* PICTURE FRAME (8"x10" is good but any size is fine)
* SCRAPBOOK PAPER (or wrapping paper... or fabric... whatever!)
* HOT GLUE GUN
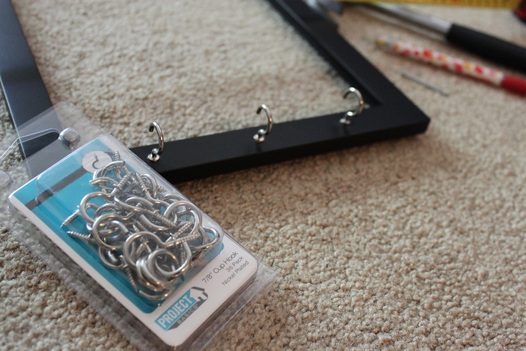
* HOOKS (I used 7/8" cup hooks)
* YARN/FELT/FABRIC/RHINESTONES/ETC. (optional)
* VELCRO
* DRY ERASE MARKER
* SCRAPBOOK PAPER (or wrapping paper... or fabric... whatever!)
* HOT GLUE GUN
* HOOKS (I used 7/8" cup hooks)
* YARN/FELT/FABRIC/RHINESTONES/ETC. (optional)
* VELCRO
* DRY ERASE MARKER
Step 2: Prep Time!
If you want to add external embellishments to your frame, go ahead and prepare those a head of time. I decided to make flowers but you can really do whatever you want!
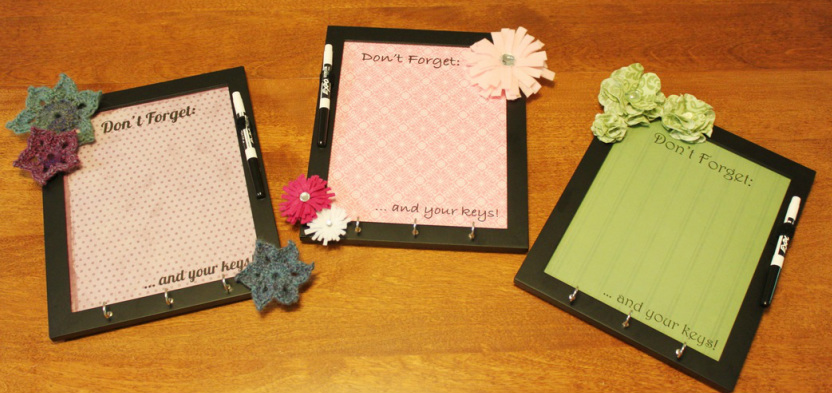
For those of you who are interested, I made 3 different types of flowers:
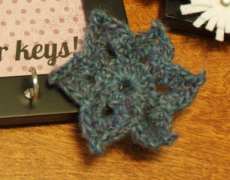
* The first I crochet using Lion Brand Amazing yarn in Glacier Bay. I followed the motif pattern that I have previously used to make a cowl - the Brighton Cowl by Kathryn Nunes. I made the larger one by following her pattern, a medium one by scaling it down a little, and the small one was a happy accident (you'll notice it has only 5 petals instead of 6... whoops.)
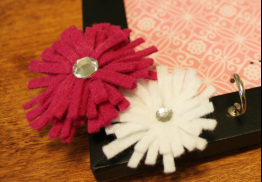
* For the second board, I used pink and white felt to make little burst flowers. I followed the first of The Papersnitch's tutorial for 5 felt flowers. (I can't lie though - I cheated and just used my hot glue gun instead of stitching them together...) I finished them off by just gluing some rhinestones that I already had to form the flower centers.
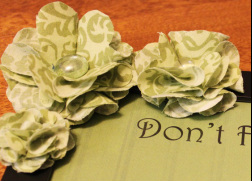
* The final round of flowers was actually the most difficult to come up with. I knew I wanted to use fabric (a different media for each one) but I couldn't quite figure out what fabric to use or how to make it happen. I eventually found this tutorial at Emily's Little World - the original tutorial calls for jersey fabric but I used plain ol' cotton and it worked just fine! Again, I finished off the centers by hot gluing a little clear stone on them.
The last bit of preparation is for your scrapbook paper. This is going to be the background of you not-so-white whiteboard. I choose to add text to mine (you certainly don't have to, though!) You can either draw/write something by hand or have it printed on it. For mine, I cut my scrapbook paper to be 8.5"x11" so I could feed it through my printer. I spaced out where I thought I wanted my lettering (the hardest part was definitely choosing fonts...) and then printed a test page on white paper, just to make sure everything lined up where I wanted it. (I had to trim my page down to 8"x10" to fit inside my frames.)
Once you're sure it's what you want, go ahead and print it out on the pretty paper! :)
Step 3: Assembly
With the prep work out of the way, the "biggest" part of the assembly is adding the hooks for your keys...
I decided I wanted 3 hooks and I wanted them evenly spaced - feel free to use as many/few as you want and to space them how ever you would like!
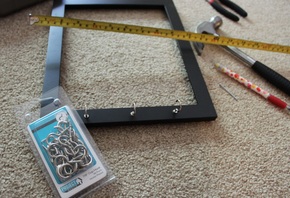
I just used a measuring tape to find my points and then mark them with a pencil. I used a few taps with a hammer and a small nail to get the holes for my hooks started - my frames were a weird wood hybrid so I just twisted them by hand (sometimes with the assistance of pliers as a lever arm) and went nice and slow. I was worried about cracking but everything worked out just fine!
Once the hooks were in, I just had to add my paper to the frame and use my hot glue gun to add my flowers! For the marker, I just used my hot glue gun to add a little square of black velcro to the frame and another to the marker itself!
Super easy right?! And totally worth it... :)
Super easy right?! And totally worth it... :)

