How to make your own Reusable Produce Bags... |
|
As I mentioned in my post here, I try my very hardest to conserve plastic bags by bringing my own bags when I go shopping, but I was still in need of a solution for those ultra-thin plastic bags in the produce section.
So here is my solution! I apologize for this being a relatively brief tutorial but it wasn't terribly complicated so hopefully it's helpful enough... (If not, I'll do my best to answer questions!)
And please forgive me for not taking any kind of prep/assembly photos - tulle doesn't exactly photograph very well so photos probably wouldn't be very helpful anyway...
Step 1: Gathering Supplies
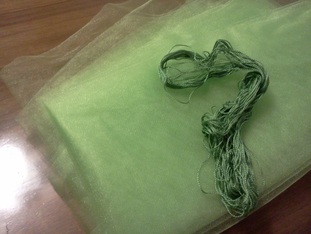
* TULLE
* EMBROIDERY FLOSS
* SEWING MACHINE
* SCISSORS or ROTARY CUTTER
* MEASURING TAPE
* TAPESTRY NEEDLE
* EMBROIDERY FLOSS
* SEWING MACHINE
* SCISSORS or ROTARY CUTTER
* MEASURING TAPE
* TAPESTRY NEEDLE
Step 2: Prep Time!
Cut your tulle into 12.5" by 15" rectangles. (1 of these rectangles = 1 bag)
Hmm... that's really it for prepping...
Step 3: Assembly
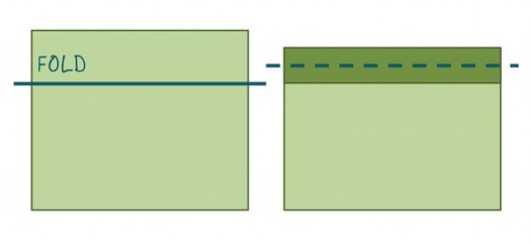
Fold over approximately 1/2" along one of the 15" sides of your tulle rectangle and stitch down the center of it. This is creating the sleeve for your drawstring. I just used a plain, ol' straight stitch for mine.
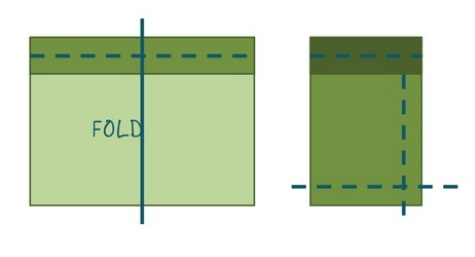
(Please disregard the fact that none of my diagrams are to-scale? I'm a bad engineer today...)
Then, fold your rectangle in half (hamburger-style), right-sides together. The fold will make up one "side" of your bag - straight stitch the other side and the bottom closed with approximately a 1/4" seam allowance (give or take...). When you're stitching the side, be sure to not stitch any higher than the stitches made for the drawstring sleeve (i.e. don't sew it closed...).
Then, fold your rectangle in half (hamburger-style), right-sides together. The fold will make up one "side" of your bag - straight stitch the other side and the bottom closed with approximately a 1/4" seam allowance (give or take...). When you're stitching the side, be sure to not stitch any higher than the stitches made for the drawstring sleeve (i.e. don't sew it closed...).
Then, you just need to thread your embroidery floss through to be your drawstring and you're all set!!
See? Wasn't that easy?
See? Wasn't that easy?
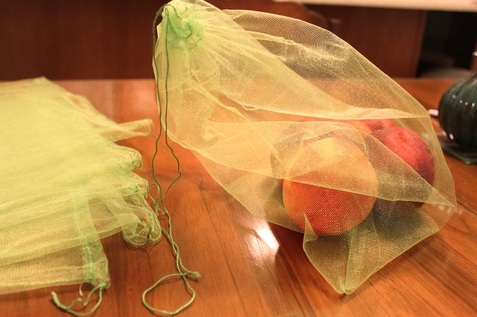
I was also happy to discover that they weighed EXACTLY the same as those flimsy plastic produce bags! (I posted all about it here...)

